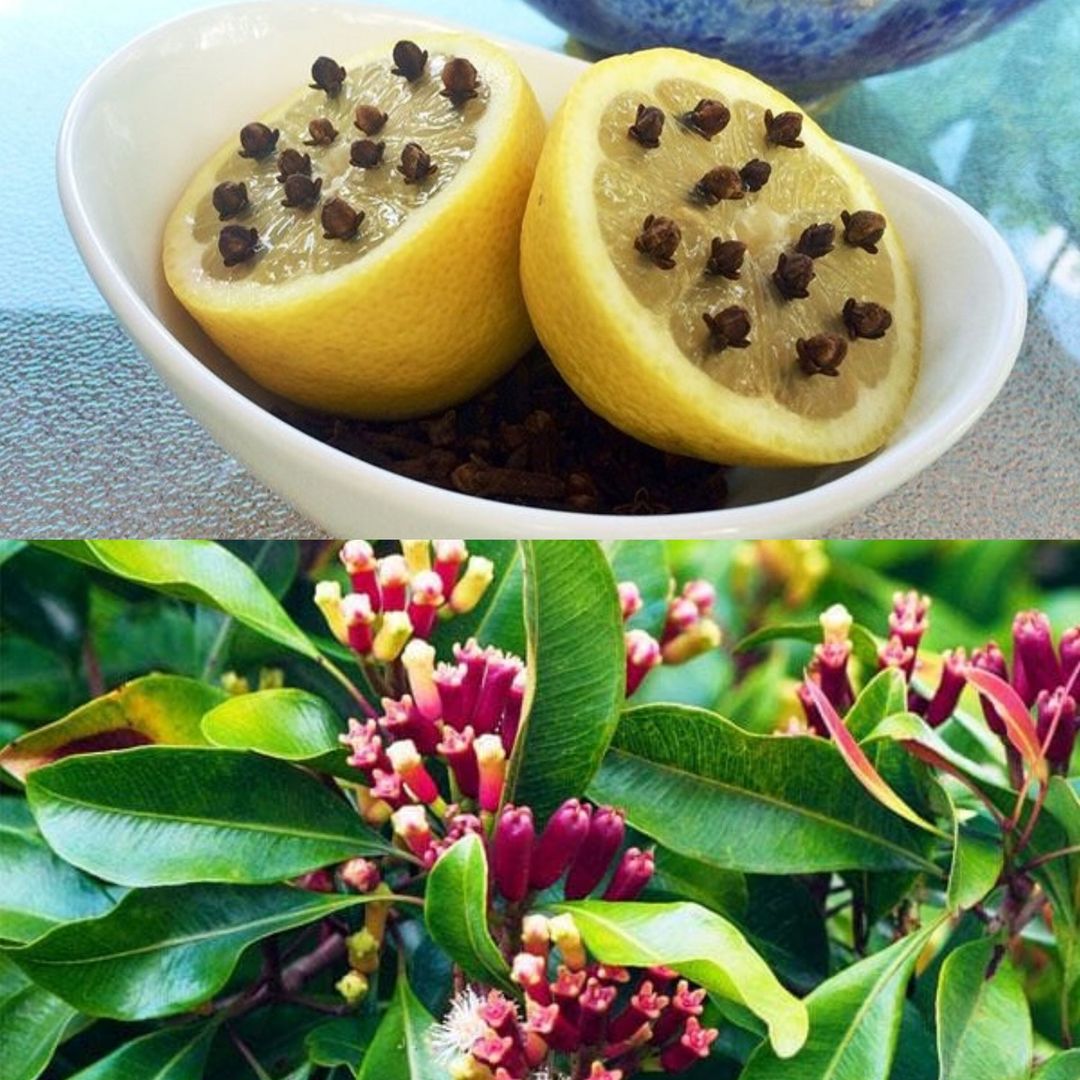
- Plant the Seeds: Fill planting pots or containers with well-draining potting soil, leaving about an inch of space at the top. Place one clove seed in each pot and cover it with a thin layer of soil. Water the soil lightly to moisten it, but avoid overwatering, as this can cause the seeds to rot.
- Provide Adequate Care: Keep the soil consistently moist but not waterlogged, and ensure that the pots receive plenty of sunlight. You can also mist the soil with water using a spray bottle to maintain humidity levels, as clove plants prefer a humid environment.
- Be Patient: Clove seeds can take several weeks to germinate, so be patient and continue to provide care and attention to your plants. Once the seeds have sprouted, you can transplant them into larger pots or directly into your garden if desired.
- Harvesting and Maintenance: Clove plants typically take three to five years to reach maturity and produce flowers and buds. Once the buds turn pink, they can be harvested and dried to create the aromatic spice known as cloves. In the meantime, continue to provide care and maintenance to your plants, including regular watering, pruning, and fertilizing as needed.
By following these simple steps, you can enjoy the pleasure of growing your own clove plant at home and reap the rewards of its fragrant blooms and aromatic spice for years to come. Happy gardening!

